I couldn't help myself... I just had to make this card! Go Great Britain!
Naturally this is a prophetic card as Team GB take the medal podiums by storm, claiming bronze, silver and gold in all events! The owls were made in the usual way - using this punch is a doddle as you just piece all the bits together. The medals were punched out using one of the eye circles and then I cut out some little strips of blue card for the ribbon. I'm not sure where I got the Union Flag bits and bobs, but they make great celebratory hats. The plant pots were turned upside down and chopped up to make the podiums.
Here is a side shot so you can see those shiny medals:
Supplies
Card: Whisper White, Marina Mist, Crumb Cake, Sahara Sand, Whisper White, Basic Black, scraps of gold, silver and bronze card
Other: Owl Punch, Adorning Accents Edgelits and Embossing Folders, BigShot, Union Flag odds and ends (clearly non-SU!), Simply Scored board
If you have been thinking about placing an order to get your free brads and ribbons (see here for details), don't hang around much longer as the offer ends on Tuesday!
I'd like to enter this into the 'So very British' challenge at Try it on Tuesday, the circles challenge at Top Tip Tuesday and the Olympics challenge at Just Inspirational Challenges (hello old friends!).
Today's cat picture was sent to me by the lovely Kylie... isn't it funny?
Thanks for popping by!
Showing posts with label Edgelits Adorning Accents. Show all posts
Saturday, 28 July 2012
Monday, 2 July 2012
Penguin Party
2nd July today... the second half of the year... the nights will be drawing in now... it'll soon be Christmas! So time to get cracking on some Christmas cards then!
I've been really enjoying playing with my Owl Punch recently and when I saw this fabulous idea of turning the owl into a penguin, I knew I had to give it a go. Then when I was checking out some challenges yesterday, I spotted this fabulous idea to create snowdrifts. And lo, a card was born!
Here's what I created:
Aren't they cute?! I especially love the loony one on the left (that would be me!) while the two others are a bit more stoic. I stamped out the main body and eyes using the Owl Punch, adding in little tiny snippets for the wings of the loony one and all the beaks. The Santa hats were made by cutting out little triangles of Real Red card and adding some shapes punched out with one of my Itty Bitty Shapes Punches.
I did the ground in the way Amy did, die cutting the snow drifts with the fabulous Edgelits dies from the Summer Mini, and then embossing them with the matching folder. When I'd assembled the panel, I thought there was something missing... and when in doubt I turn to French Foliage! I stamped the splodges in Whisper White Craft Ink, stamping on some scrap paper first. Then I added a few rhinestones, which can be stars or snowflakes depending on what you think they most look like!
The sentiment is part of one from Beautiful Season which I coloured in with a marker pen so I didn't stamp the whole sentiment.
Here's a close-up so you can hopefully see the dimension of the ground:
Ink: Whisper White Craft Ink, marker pen in Real Red
Card: Whisper White, Baja Breeze, Basic Black, More Mustard, Real Red
Paper: Real Red from the Brights Paper Stack
Other: Edgelits Adorning Accents, Adorning Accents embossing folder, Big Shot, Owl Punch, Itty Bitty Shapes Punches, Rhinestones, dimensionals
As always, if these or any other SU goodies have caught your eye, do not hesitate to get in touch either by phone on 07977 141605 or email. I would be delighted to assist you with your crafty makes and place an SU order for you for goodies to be delivered directly to your UK address. Remember that all orders of £45 or more in July earn Everyday Enchantment brads and ribbons for absolutely free! Click here for details!
I'd like to enter my card into the 'anything Christmas goes' challenge at 52 {Christmas} Card Throwdown and the 'Christmas in July' theme challenge at The Paper Players.
I have introduced my husband to Pinterest this weekend and he's getting rather addicted! (If you're not a member of Pinterest yet and you'd like an invitation, just let me know and I'll email you one.) As part of his pinning, he has found a whole bunch of funny cat pictures and I'll share some of them over the course of this week. I had to start with this one, because if you craft, have a cat, and regularly have to remove cat hair from your creations, you'll understand!
Thanks for popping in to see me today,
I've been really enjoying playing with my Owl Punch recently and when I saw this fabulous idea of turning the owl into a penguin, I knew I had to give it a go. Then when I was checking out some challenges yesterday, I spotted this fabulous idea to create snowdrifts. And lo, a card was born!
Here's what I created:
Aren't they cute?! I especially love the loony one on the left (that would be me!) while the two others are a bit more stoic. I stamped out the main body and eyes using the Owl Punch, adding in little tiny snippets for the wings of the loony one and all the beaks. The Santa hats were made by cutting out little triangles of Real Red card and adding some shapes punched out with one of my Itty Bitty Shapes Punches.
I did the ground in the way Amy did, die cutting the snow drifts with the fabulous Edgelits dies from the Summer Mini, and then embossing them with the matching folder. When I'd assembled the panel, I thought there was something missing... and when in doubt I turn to French Foliage! I stamped the splodges in Whisper White Craft Ink, stamping on some scrap paper first. Then I added a few rhinestones, which can be stars or snowflakes depending on what you think they most look like!
The sentiment is part of one from Beautiful Season which I coloured in with a marker pen so I didn't stamp the whole sentiment.
Here's a close-up so you can hopefully see the dimension of the ground:
Supplies
Stamps: French Foliage, Beautiful SeasonInk: Whisper White Craft Ink, marker pen in Real Red
Card: Whisper White, Baja Breeze, Basic Black, More Mustard, Real Red
Paper: Real Red from the Brights Paper Stack
Other: Edgelits Adorning Accents, Adorning Accents embossing folder, Big Shot, Owl Punch, Itty Bitty Shapes Punches, Rhinestones, dimensionals
As always, if these or any other SU goodies have caught your eye, do not hesitate to get in touch either by phone on 07977 141605 or email. I would be delighted to assist you with your crafty makes and place an SU order for you for goodies to be delivered directly to your UK address. Remember that all orders of £45 or more in July earn Everyday Enchantment brads and ribbons for absolutely free! Click here for details!
I'd like to enter my card into the 'anything Christmas goes' challenge at 52 {Christmas} Card Throwdown and the 'Christmas in July' theme challenge at The Paper Players.
I have introduced my husband to Pinterest this weekend and he's getting rather addicted! (If you're not a member of Pinterest yet and you'd like an invitation, just let me know and I'll email you one.) As part of his pinning, he has found a whole bunch of funny cat pictures and I'll share some of them over the course of this week. I had to start with this one, because if you craft, have a cat, and regularly have to remove cat hair from your creations, you'll understand!
Thanks for popping in to see me today,
Thursday, 7 June 2012
Snippet Makes
Hello again, I'm back with a couple of quick cards made using some leftover snippets from the lovely new Twitterpated paper. Paper is far too nice to throw away but I do struggle to be disciplined at using it up.... I must confess to having an impressive mountain of paper scraps to get through. And the problem with snippet makes is that they only use a tiny bit at a time so the mountain never seems to go down.
Anyway, enough moaning. Here are two cards I've made this afternoon, neither of which is particularly original as I've seen numerous variations on these themes before, but hey....
First up is the banner with accompanying hearts. I love that next to the Designer Paper in the catalogues it always tells you the colours in the paper, which makes it so easy to pull out the appropriate ink pads to stamp with. These hearts from the I {Heart} Hearts set were stamped in Blushing Bride, Baja Breeze and Island Indigo. Three little pearls were added underneath and the top corner was rounded.
This second card is just rectangular scraps, tied up with baker's twine. The Whisper White square they are mounted onto is layered up on dimensionals onto textured Whisper White card, which makes for a subtle but rather pleasing contrast. I finished the card by cutting the right hand edge with my Edgelits. This wasn't my initial intention but I'd got mixed up with my measurements and so to make the card a square, I chopped the side of, but I did chop it *artistically*... ahem...
So there you go, easy peasy lemon squeezy. I'd like to enter these into Di's Snippet Playground. I'm a new kid here, but I'll play nicely, honest. I promise I haven't nipped anyone or pulled anyone's hair.
Thanks as always for visiting, and thanks so much for all the lovely comments you leave. They really are very much appreciated - they bring sunshine into my day!
It's not called an Idea Book for nothing....
Today's card is a almost an exact copy of one that appears in the Summer Mini Catalogue. Ideas, you say, in a catalogue? Well yes, both minis and the main Idea Book & Catalogue are jam-packed with ideas to get you started with various stamp sets, meaning you're hardly ever left there scratching your noggin puzzling out what to make.
I swapped the papers around a little and I used flowers instead of the bird die cut, adding the sentiment and the pearls to make this:
If you're curious where that sentiment came from, it's just two words from a stamp from Happiest Birthday Wishes. I masked most of the stamp to stamp a word at a time in Basic Grey ink and then cut them into little pennants.
Here's a sneaky peek at the inside:
Supplies
Stamps: Bordering on Romance, Happiest Birthday Wishes (hostess)
Ink: Basic Grey, marker pens in Riding Hood Red, Pear Pizzaz, Baja Breeze
Card: Whisper White, Pear Pizzaz
Paper: Twitterpated Designer Series Paper
Other: Twitterpated Designer buttons, bakers' twine, pearls, Blushing Bride pleated ribbon, aqua painter, Edgelits Adorning Accents and embossing folders, Blossom punch
If you'd like a (free) paper copy of the new Summer Mini so you can see these ideas and goodies for yourself, just let me know by email or by phone on 07977 141605. I have a few left and one could be winging its way to your UK address before the day is out!
I made this card for the Make My Monday 'happy birthday with pearls' challenge. It has been way too long since I got my act together to make a card for one of my favourite challenges!
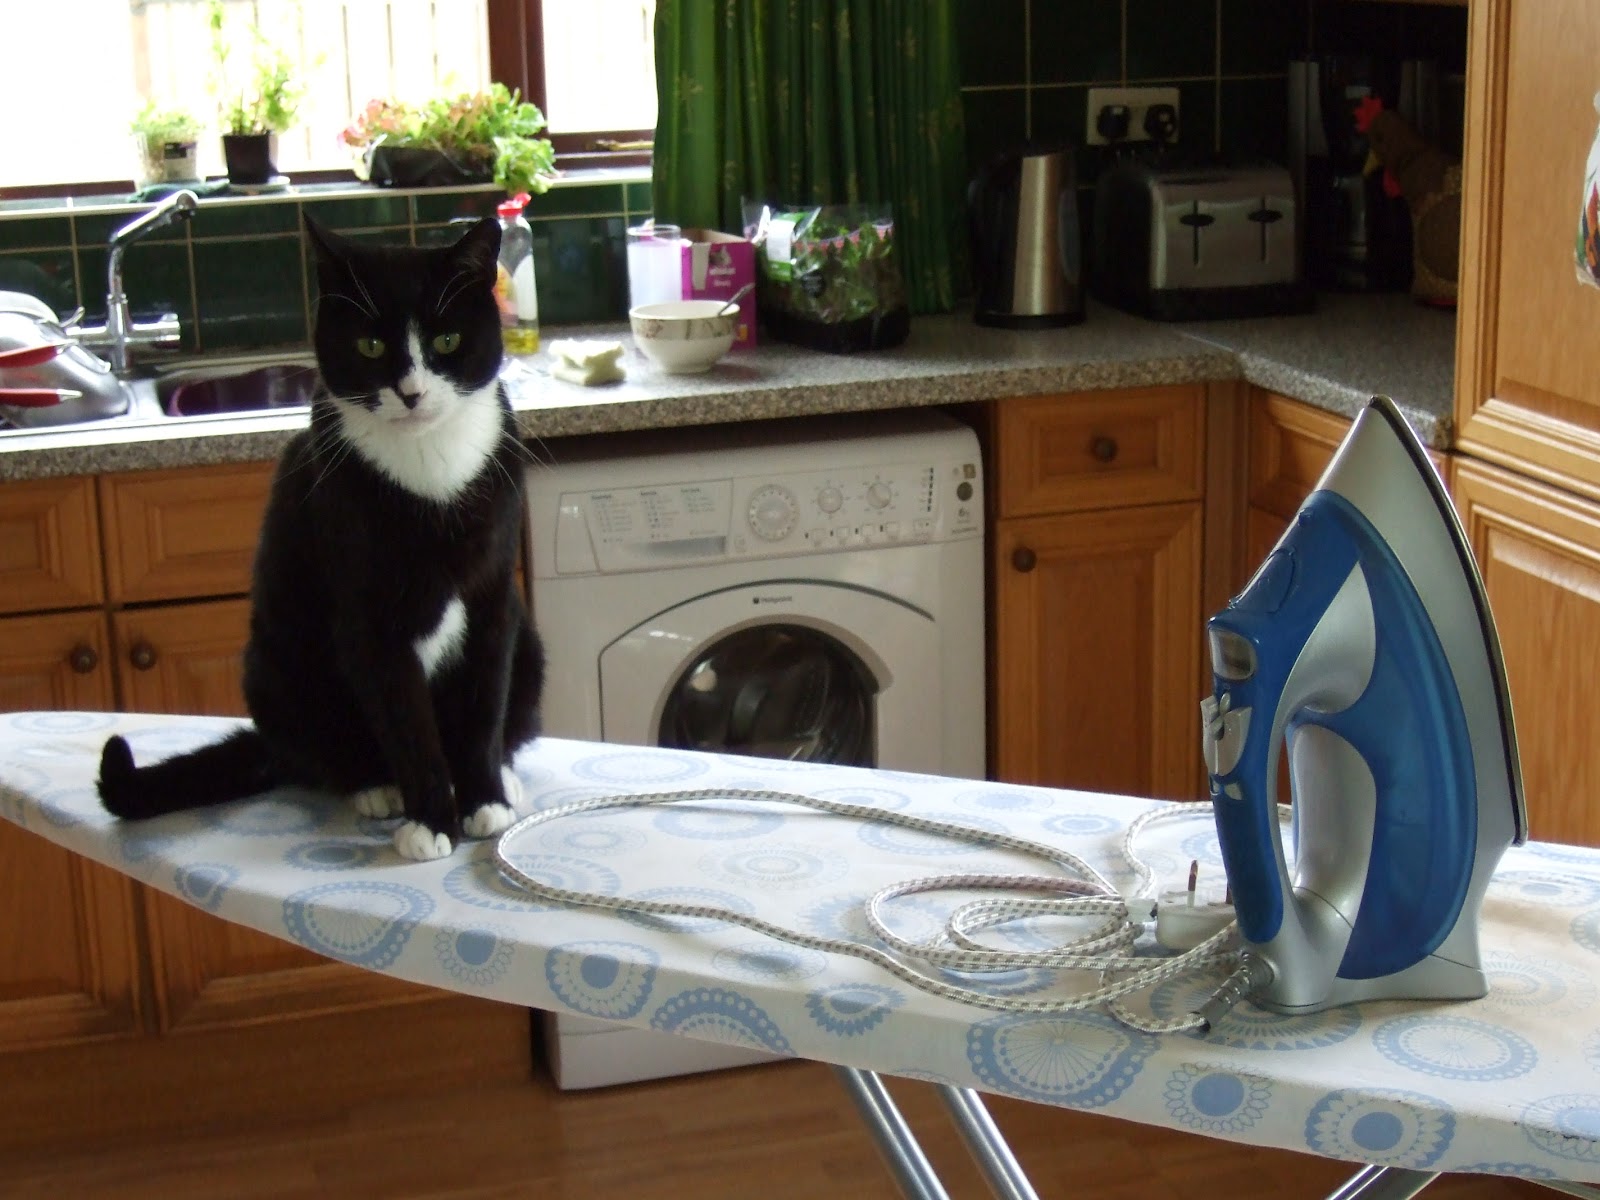
It has also been ages since I shared a photo of Socks so I shall remedy that today! Last week Socks was concerned at how big my ironing pile was so he decided to help:
Thank you for visiting Socks and me today,
I swapped the papers around a little and I used flowers instead of the bird die cut, adding the sentiment and the pearls to make this:
These are my new favourite papers: Twitterpated (and I thought they only used that word in Bambi!). They coordinate beautifully with the new Bordering on Romance stamp set which is what I've used to stamp my banner with. The shaped line of dots is also from this set, as is the flower border at the bottom. And while I'm on the subject of coordination, do you like how the edge I've die cut coordinates with the embossed edge? The new Edgelits Adorning Accents dies match perfectly with a set of three different edge embossing folders. I've used the second Edgelits die to cut the scalloped edge at the bottom of the main panel.
Here's a close-up of the layering at the bottom:
If you're curious where that sentiment came from, it's just two words from a stamp from Happiest Birthday Wishes. I masked most of the stamp to stamp a word at a time in Basic Grey ink and then cut them into little pennants.
Here's a sneaky peek at the inside:
Supplies
Stamps: Bordering on Romance, Happiest Birthday Wishes (hostess)
Ink: Basic Grey, marker pens in Riding Hood Red, Pear Pizzaz, Baja Breeze
Card: Whisper White, Pear Pizzaz
Paper: Twitterpated Designer Series Paper
Other: Twitterpated Designer buttons, bakers' twine, pearls, Blushing Bride pleated ribbon, aqua painter, Edgelits Adorning Accents and embossing folders, Blossom punch
If you'd like a (free) paper copy of the new Summer Mini so you can see these ideas and goodies for yourself, just let me know by email or by phone on 07977 141605. I have a few left and one could be winging its way to your UK address before the day is out!
I made this card for the Make My Monday 'happy birthday with pearls' challenge. It has been way too long since I got my act together to make a card for one of my favourite challenges!
It has also been ages since I shared a photo of Socks so I shall remedy that today! Last week Socks was concerned at how big my ironing pile was so he decided to help:
Even the thought of ironing must have tired him out though because 15 minutes later, he was tuckered out:
I'm still trying to work out where all his limbs are in this photo:
Thank you for visiting Socks and me today,
Wednesday, 6 June 2012
Velveteen Stamping
Mynnette from On A Stampage has started a new challenge called Technique Tuesday based on a new tutorial each month. Last month's was Velveteen Stamping, which I was keen to try but didn't think I'd make the deadline as I've only just got my mitts on my Whisper White Craft Ink pad so I was delighted when I read that she's extended the deadline to the 15th!
I won't go into how I made it - you'll have to check out the Technique Tuesday blog for that! It was a fun technique to try. The effect is a bit like emboss resist but more subtle. I went with bold colours for the overstamping as per the suggestion but just musing now I wonder whether it would work with pastel shades too or whether I should stick to emboss resist for those.... hmmm... if I get chance, I'll have an experiment...
Anyway, here's the card:
Supplies
Stamps: En Français background stamp, Apothecary Art, Greenhouse Garden
Ink: Perfect Plum, Marina Mist, Rose Red, Basic Black, Whisper White Craft ink, marker pens in Perfect Plum, Marina Mist, Rose Red, Wild Wasabi
Card: Whisper White, Certainly Celery
Other: Edgelits Adorning Accents, Framelits Labels Collection
As always, please do not hesitate to get in touch if you would like to place an SU order or have any questions about SU supplies. I'd be delighted to help you! Just give me a ring on 07977 141605 or drop me an email.
I'm sure I'm not the only one who thinks of The Velveteen Rabbit when I hear the word 'velveteen'. If you have never come across this delightful children's book, it is one of the most beautiful stories I have ever read. I hope you'll forgive me including such a long quote to finish.
I won't go into how I made it - you'll have to check out the Technique Tuesday blog for that! It was a fun technique to try. The effect is a bit like emboss resist but more subtle. I went with bold colours for the overstamping as per the suggestion but just musing now I wonder whether it would work with pastel shades too or whether I should stick to emboss resist for those.... hmmm... if I get chance, I'll have an experiment...
Anyway, here's the card:
Definitely not my usual colours, but I was flicking through the Colour Coach for some inspiration and thought I'd try this one. If you don't know what the Colour Coach is, it's a great little book with every SU colour in it and two different combinations which work well with it.
Here's a close-up of the velveteen-ness (but take my word for it, this is one of those techniques that's much better in real life than in a photograph):
And here's my mini rosette:
Supplies
Stamps: En Français background stamp, Apothecary Art, Greenhouse Garden
Ink: Perfect Plum, Marina Mist, Rose Red, Basic Black, Whisper White Craft ink, marker pens in Perfect Plum, Marina Mist, Rose Red, Wild Wasabi
Card: Whisper White, Certainly Celery
Other: Edgelits Adorning Accents, Framelits Labels Collection
As always, please do not hesitate to get in touch if you would like to place an SU order or have any questions about SU supplies. I'd be delighted to help you! Just give me a ring on 07977 141605 or drop me an email.
I'm sure I'm not the only one who thinks of The Velveteen Rabbit when I hear the word 'velveteen'. If you have never come across this delightful children's book, it is one of the most beautiful stories I have ever read. I hope you'll forgive me including such a long quote to finish.
The Skin Horse had lived longer in the nursery than any of the others. He was so old that his brown coat was bald in patches and showed the seams underneath, and most of the hairs in his tail had been pulled out to string bead necklaces. He was wise, for he had seen a long succession of mechanical toys arrive to boast and swagger, and by-and-by break their mainsprings and pass away, and he knew that they were only toys, and would never turn into anything else. For nursery magic is very strange and wonderful, and only those playthings that are old and wise and experienced like the Skin Horse understand all about it.
"What is REAL?" asked the Rabbit one day, when they were lying side by side near the nursery fender, before Nana came to tidy the room. "Does it mean having things that buzz inside you and a stick-out handle?"
"Real isn't how you are made," said the Skin Horse. "It's a thing that happens to you. When a child loves you for a long, long time, not just to play with, but REALLY loves you, then you become Real."
"Does it hurt?" asked the Rabbit.
"Sometimes," said the Skin Horse, for he was always truthful. "When you are Real you don't mind being hurt."
"Does it happen all at once, like being wound up," he asked, "or bit by bit?"
"It doesn't happen all at once," said the Skin Horse. "You become. It takes a long time. That's why it doesn't happen often to people who break easily, or have sharp edges, or who have to be carefully kept. Generally, by the time you are Real, most of your hair has been loved off, and your eyes drop out and you get loose in the joints and very shabby. But these things don't matter at all, because once you are Real you can't be ugly, except to people who don't understand."
"I suppose you are real?" said the Rabbit. And then he wished he had not said it, for he thought the Skin Horse might be sensitive.
But the Skin Horse only smiled.
Isn't that lovely?! I'm all teary-eyed now! I'll be back tomorrow with a copied card (but it's ok, I'll explain why!) and a couple of photos of Socks. It's been so long since I posted a picture of him, you'll be getting withdrawal symptoms!
Thanks for visiting! A big wave to my new follower Lynda from Zippy's Zone. Lynda makes some really lovely cards and has only started blogging this year so do pop over for a visit!
Subscribe to:
Posts (Atom)